This is a simple walk through of setting up the new Android Studio IDE and Gradle. Gradle is the new build system for all Android projects.
Prerequisites:
- you have a JDK installed.
- JAVA_HOME is set.
(you can test this by typing java -version in a console)
warning: This post is very image heavy, so get scrolling
Download Gradle (currently 1.12) (this blog shows 1.6)
Download Android Studio (currently 0.8.1)
When you have downloaded Gradle – unzip gradle. I put mine in this folder: D:\Programs\Gradle\gradle-1.6
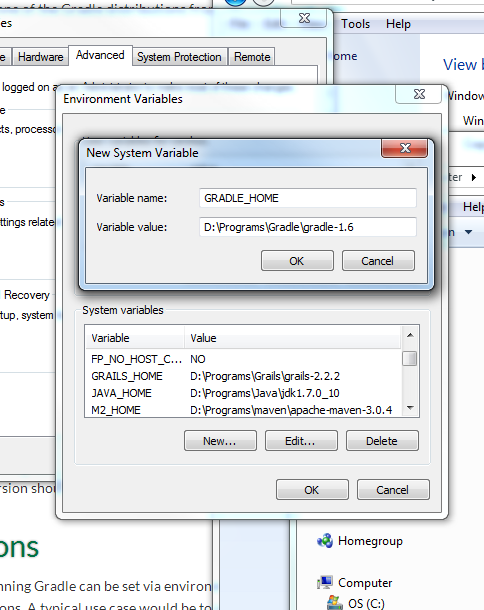
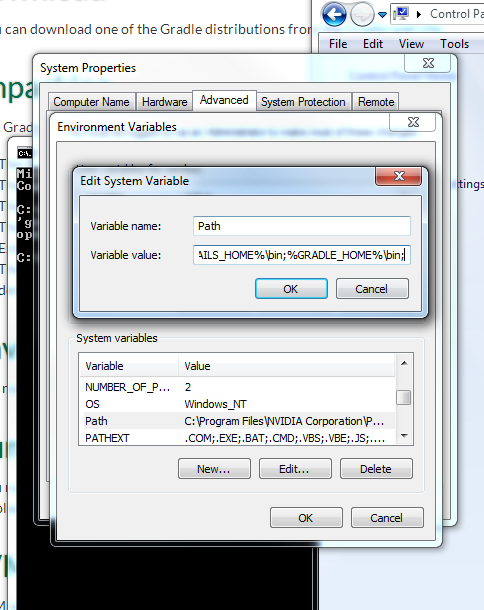
Add gradle/bin to path. You want to add Gradle to your path so that you can use it from the command line.
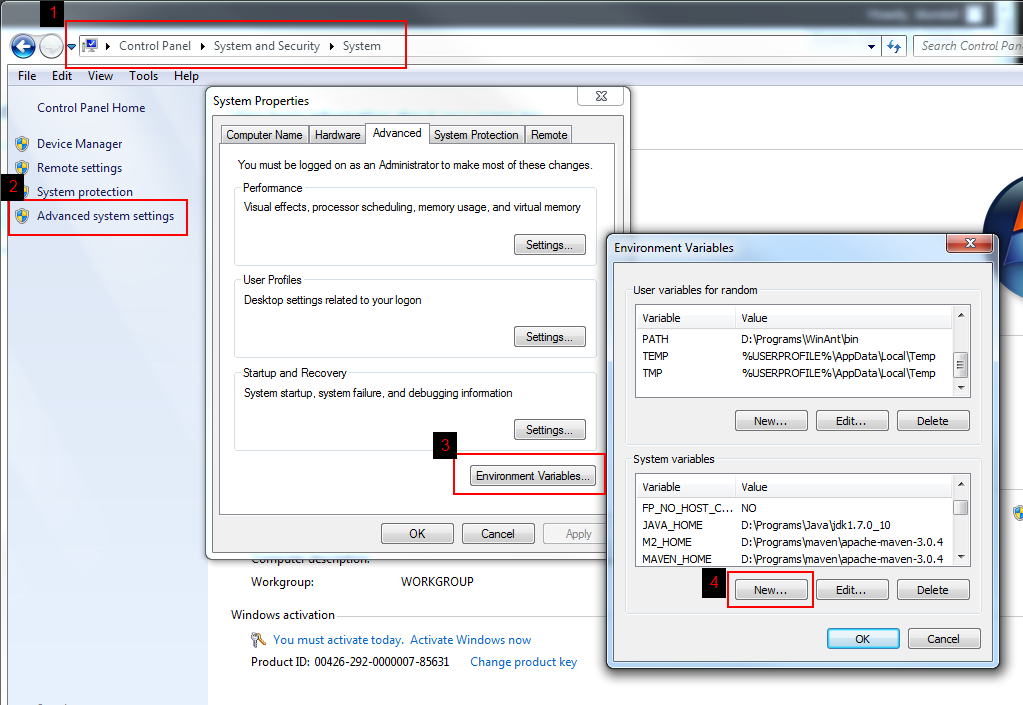
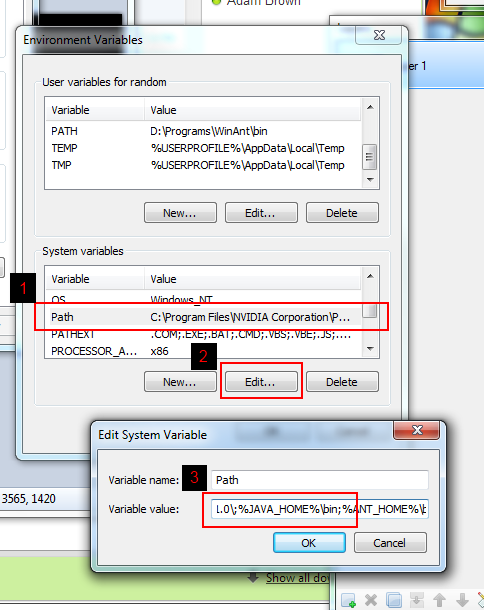
Here is how you create the variables and add them to your path:
check JAVA_HOME is on your PATH
adding GRADLE_HOME
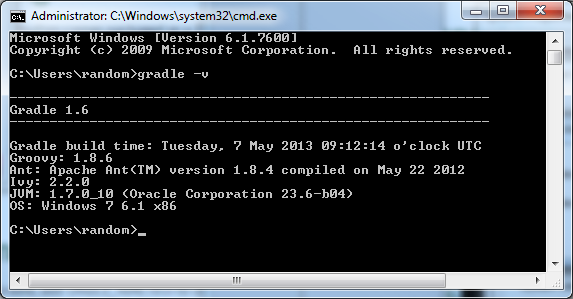
Now test the gradle installation is on your path, use the command gradle -v
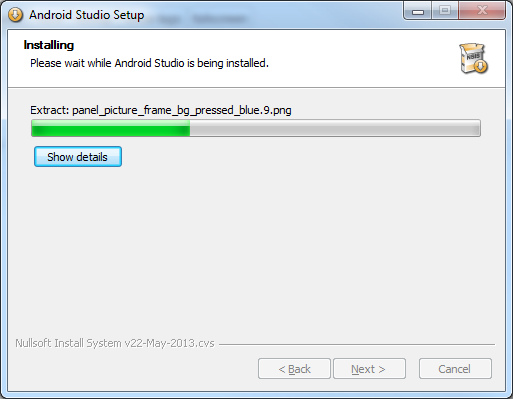
Next run the Android Studio Installer
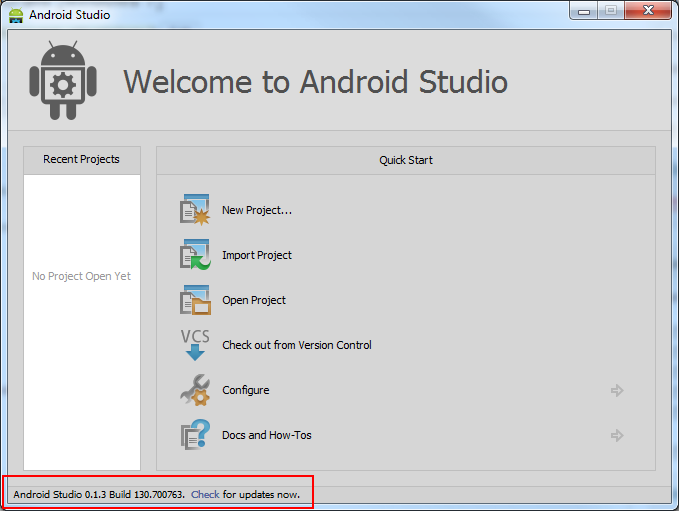
Start Android Studio and check for updates
(not all weekly updates are made available on the site, only through the updater)
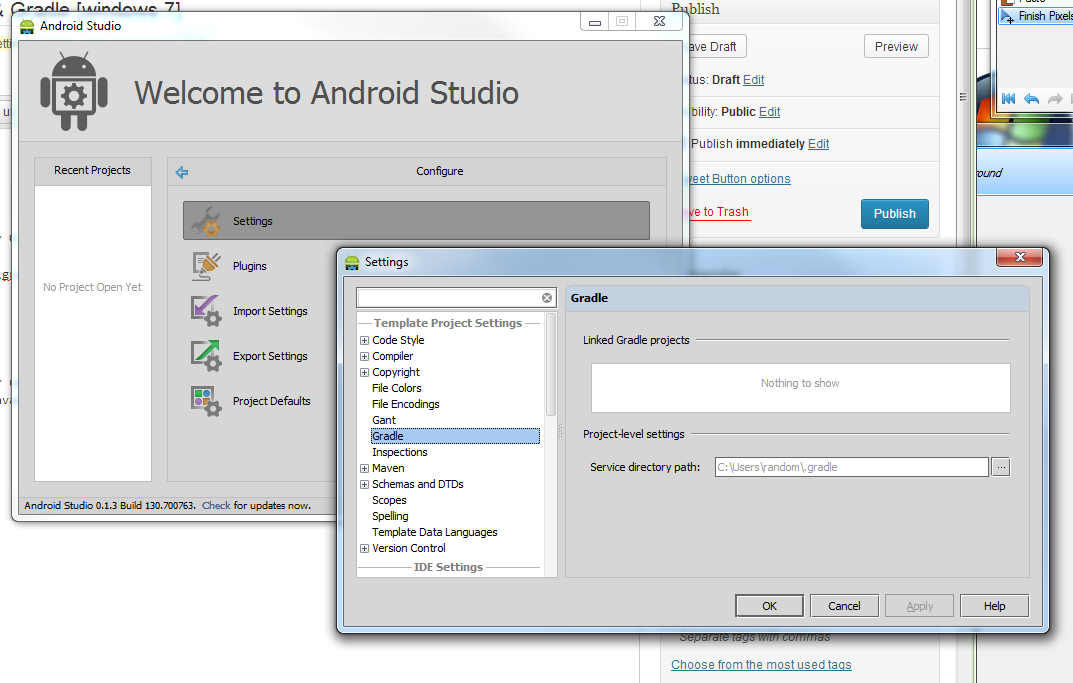
Finally check that Android Studio is pointing to your gradle installations repo folder:
That’s it, now go create gradle projects!
Awesome tutorial, Very good screen shots and instructions. Very thoughtful of your audience, thanks for taking the time.. Instructions done right..
This was useful and helpful. thanks.