This post gets you started with the new Gemma 3 model for on-device inference. Giving you the simplest steps to get started with AI on Android.
Gemma 3 1B is a new model size in the Gemma family of open weight models. When deploying small language models (SLMs) in production settings, models need to be small enough to download quickly, run fast enough to hold user attention, and support a wide range of end user devices.
At only 529MB in size, Gemma 3 1B runs at up to 2585 tok/sec on prefill via Google AI Edge’s LLM inference, creating the ability to process a page of content in under a second.
Including Gemma 3 1B in your app, you can use natural language to drive your application or generate content from in-app data or context, all fully customizable and fine-tunable.
https://developers.googleblog.com/en/gemma-3-on-mobile-and-web-with-google-ai-edge
On device inference is an awesome super power for your app. Having the ability to leverage AI without any data leaving your phone and without needing a network connection is awesome.
This post shows you the steps needed to get Gemma 3 into your app and get your started. The idea of this post is a stepping stone in your AI journey. You need to get started, but once you have this prototype building you need to keep running with the idea, and take those next steps to really make AI work for you.
Let’s get started.
Using any LLM on Android takes a couple of steps, and although this tutorial is for Gemma 3, the steps are equivalent no matter your choice.
- Decide on your Model
We will be using Gemma 3:1b IT.- 1b refers to it having 1billion parameters. In machine learning, parameters are the variables that a model learns from training data. The more parameters a model has, generally, the more complex patterns it can learn. However, the more parameters also the bigger the size of the LLM, so it’s a trade off.
- IT refers to “Instruction Tuning” which means its had (pre-training plus) ‘fine tuning’ (specific tuning to be conversational) done, vs PT which means ‘just’ “Pre-Training”, pre-training is the initial training (learning a lot) with no fine tuning. (You can find LLM’s in HuggingFace, a community for model collaborators.)
- Model’s are too big to package inside of an APK, you need to download the Model after install. (Imagine someone seeing your app on the appstore being 700mb+ not cool. Models are packaged as a *.task file.)
- Once downloaded, use MediaPipe to run inference on the Model. (MediaPipe facilitates the integration of pre-trained machine learning models, which could include components used in LLM pipelines, into applications.)
Alright, lets do that!
Selecting your Model
.. Well we’ve already selected Gemma 3. But seriously, Gemma3 is such a powerful Model for an on-device LLM and at a perfect size to be able to run on mobile.
Download Gemini3
In a production application, you may have customised the LLM or maybe not, but either way it would be recommended you download the file from your own servers. You may also want to zip it before downloading which will save about 100mb.
In this example, we will be downloading the Gemma3 Model straight from HuggingFace. You can do so with a URL like this: https://huggingface.co/litert-community/Gemma3-1B-IT/resolve/main/gemma3-1b-it-int4.task?download=true. If you just clicked that then, you’ll notice it fails. First you need an API token!
Sign up for HuggingFace and go to: https://huggingface.co/settings/tokens then create a token. Give it access to “Read access to contents of all public gated repos you can access”.
Once you have the token, add a key/value into your projects local.properties file. (An alternative could be to use Environment variables for the build.)
huggingface.token = hf_rR12312MADEUP3423423rsdfsdf
We can then load this token from the local properties into our BuildConfig. Edit your app’s build.gradle to add the following inside the defaultConfig block (code here):
val localProperties = Properties().apply {
    val localPropertiesFile = rootProject.file("local.properties")
    load(localPropertiesFile.inputStream())
}
val huggingFaceDownloadApiKey = localProperties.getProperty("huggingface.token")
buildConfigField("String", "HUGGINGFACE_DOWNLOAD_API_KEY", "\"$huggingFaceDownloadApiKey\"")
Don’t forget to turn on the buildConfig feature if it isn’t already:
buildFeatures {
    buildConfig = true
}
Whilst we are in this file, we may as well add the dependencies that will be needed (use a TOML file in your prod app) (code here):
implementation("com.google.mediapipe:tasks-genai:0.10.22")
implementation("com.squareup.okhttp3:okhttp:4.12.0")
implementation("org.jetbrains.kotlinx:kotlinx-coroutines-android:1.9.0")
implementation("androidx.lifecycle:lifecycle-viewmodel-compose:2.8.7")
- MediaPipe is used to run inference on the Gemma3 model. Note that the official docs still point at 0.10.14 which is wrong and can’t support Gemma3
- OkHttp & Coroutines are used for downloading the model
- ViewModel-Compose helps observing state from our ViewModel
One (two) last piece(s) of setup. With MediaPipe and Android 12, a new security requirement was put in place that native libraries use, needs to be declared, so add this to the application node of your manifest: (code here)
<!-- Required in Android 12 & p (increased security req) -->
<uses-native-library
    android:name="libOpenCL.so"
    android:required="false"
    />
<uses-native-library
    android:name="libOpenCL-car.so"
    android:required="false"
    />
<uses-native-library
    android:name="libOpenCL-pixel.so"
    android:required="false"
    />
And not forgetting the INTERNET permission! (classic mistake)
<uses-permission android:name="android.permission.INTERNET" />
Ok, that’s all the setup needed, now we just need to download the model file and run some LLM requests.
Download Code
This tutorial isn’t about best practices, but about getting the bare metal works of an Android app together so you can start to play with an LLM. With that in mind, here’s the code to download the model. It’s downloaded to private storage, so it should just happen once and not be necessary again: (code here)
/**
 * Ends up at: /data/user/0/com.blundell.tut.gemma3/files/gemma3-1b-it-int4.task
 */
class GemmaDownload(
    private val huggingFaceToken: String,
    private val okHttpClient: OkHttpClient,
) {

    fun downloadGemmaModel(directory: File): Flow<DownloadResult> = flow {
        val url = "https://huggingface.co/litert-community/Gemma3-1B-IT/resolve/main/gemma3-1b-it-int4.task?download=true"
        val fileName = "gemma3-1b-it-int4.task"
        val file = File(directory, fileName)

        if (file.exists()) {
            Log.d("TUT", "File already exists, skipping download.")
            emit(DownloadResult.Success(file))
            return@flow // Skip the download
        }

        Log.d("TUT", "Download starting!")
        try {
            val response = okHttpClient
                .newCall(
                    Request.Builder()
                        .url(url)
                        .header("Authorization", "Bearer $huggingFaceToken")
                        .build()
                )
                .execute()
            Log.d("TUT", "Download ended!")
            if (!response.isSuccessful) {
                Log.e("TUT", "Download Not successful.")
                emit(DownloadResult.Error("Download failed: ${response.code}"))
                return@flow
            }

            val source = response.body?.source()
            if (source == null) {
                emit(DownloadResult.Error("Empty response body"))
            } else {
                file.sink().buffer().use { sink ->
                    source.readAll(sink)
                }
                Log.d("TUT", "Success!")
                emit(DownloadResult.Success(file))
            }
        } catch (e: IOException) {
            Log.e("TUT", "Download IO Error", e)
            emit(DownloadResult.Error("Network error: ${e.message}"))
        } catch (e: Exception) {
            Log.e("TUT", "Download General Error", e)
            emit(DownloadResult.Error("An unexpected error occurred: ${e.message}"))
        }
    }
}

sealed class DownloadResult {
    data class Success(val file: File) : DownloadResult()
    data class Error(val message: String) : DownloadResult()
}
The code above creates an OkHttp request to HuggingFace for Gemma3 1b IT int4 (int4 being the precision of the weights, this helps it be a small model file), using your hugging face api token as the Authorization bearer. When it fails or succeeds the flow emits a Result.
In our example, we download the model when the ViewModel loads, i.e. when the user goes to the screen for the first time: (code here)
class MainViewModel(
    gemmaDownload: GemmaDownload,
    application: Application,
) : ViewModel() {
    private val _mainState: MutableStateFlow<MainState> = MutableStateFlow(MainState.Idle)
    val mainState: StateFlow<MainState> = _mainState

    init {
        viewModelScope.launch {
            _mainState.value = MainState.LoadingModel
            gemmaDownload
                .downloadGemmaModel(application.filesDir)
                .flowOn(Dispatchers.IO)
                .collect { result ->
                    when (result) {
                        is DownloadResult.Error -> {
                            Log.e("TUT", "Model download error ${result.message}.")
                            _mainState.value = MainState.Error
                        }
                        is DownloadResult.Success -> {
                            Log.d("TUT", "Model downloaded successfully to ${result.file}.")
                            // TODO we have a model now, lets use it!
                        }
                    }
                }
        }
    }
Next we’ll observe for these changes and update our app state accordingly.
Use MediaPipe to run inference
Now in the DownloadResult.Success state, we know we have a model downloaded locally, we need to load it into media pipe. Once mediapipe is configured we can update our state: (code here)
Log.d("TUT", "Model downloaded successfully to ${result.file}.")
// Set the configuration options for the LLM Inference task
val interfaceOptions = LlmInference.LlmInferenceOptions.builder()
    .setModelPath(result.file.path)
    .setMaxTokens(1000) // This could be up to 32,768 with Gemma 1b
    .setPreferredBackend(LlmInference.Backend.CPU) // To work on the emulator
    .build()
// Create an instance of the LLM Inference task
val llmInference = LlmInference.createFromOptions(application, interfaceOptions)
val sessionOptions = LlmInferenceSession.LlmInferenceSessionOptions.builder()
    .setTemperature(0.8f) // Temperature is creative it can be with answers
    .setTopK(40) // Select from the top 40 possible next tokens
    .setTopP(0.95f) // Also helps with creativity, consider the most probable tokens whose combined probability adds up to 95%
    .build()
val llmInferenceSession = LlmInferenceSession.createFromOptions(llmInference, sessionOptions)

_mainState.emit(
    MainState.LoadedModel(
        llmSession = llmInferenceSession,
        latestResponse = "",
        responding = false,
    )
)
We set the LlmInferenceOptions then create an LlmInference from that and then create LlmInferenceSessionOptions, finally getting ourselves a LlmInferenceSession from all the previous config.
We can keep hold of the session as this is what allows us to send inputs (and give us outputs).
Once LoadedModel had been emitted, we can load the UI with an TextField and input button allowing us to send queries. Upon pressing the button we use the LlmInteferenceSession to send whatever the user entered as input: (code here)
    fun sendQuery(inputPrompt: String) {
        val state = _mainState.value
        if (state !is MainState.LoadedModel) {
            throw IllegalStateException("Cannot send query without a loaded model. Handle this better in a 'real' app.")
        }
        // Clear the previous answer
        _mainState.value = state.copy(
            latestResponse = "",
            responding = true,
        )
        val llmInferenceSession = state.llmSession
        llmInferenceSession.addQueryChunk(inputPrompt)
        llmInferenceSession.generateResponseAsync { partialResult, done ->
            val currentState = _mainState.value
            if (currentState !is MainState.LoadedModel) {
                throw IllegalStateException("Cannot send query without a loaded model. Handle this better in a 'real' app.")
            }
            val response = currentState.latestResponse + partialResult
            if (done) {
                Log.d("TUT", "Full response: $response")
                _mainState.value = currentState.copy(
                    latestResponse = response,
                    responding = false,
                )
            } else {
                _mainState.value = currentState.copy(
                    latestResponse = response,
                )
            }
        }
    }
Using session.addQueryChunk(inputPrompt) allows us to send queries to the LLM, and then observing with generateResponseAsync{ } we can wait for the response and act upon it. Notice that the response comes in chunks, you can wait till you have all chunks for the full response, but this example takes each chunk and updates the UI as we get it.
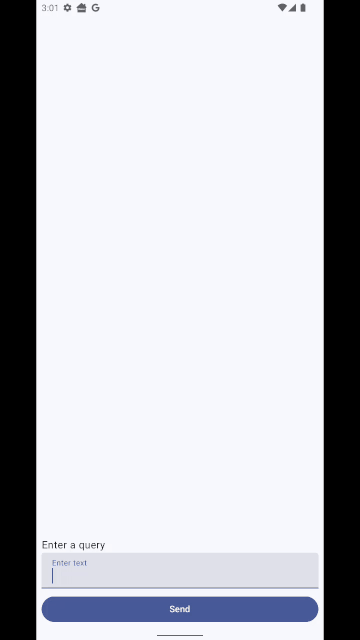
Finally your UI needs to observe for state changes in the ViewModel and update accordingly. This tutorial just does a really simple job with one composable, don’t take it as best practice 🙂 (code here) :
@Composable
internal fun MainScreen(viewModel: MainViewModel) {
    val mainState by viewModel.mainState.collectAsStateWithLifecycle()
    when (val state = mainState) {
        is MainState.Error -> {
            Text("Something went wrong, check LogCat.")
        }
        is MainState.Idle -> {
            Text("Hello World")
        }
        is MainState.LoadedModel -> {
            val scrollableState = rememberScrollState()
            Column(
                modifier = Modifier
                    .verticalScroll(scrollableState)
                    .padding(8.dp)
                    .fillMaxSize()
            ) {
                val latestResponse = state.latestResponse
                if (latestResponse.isNotEmpty()) {
                    Text("Latest response: ")
                    Text(latestResponse)
                }

                var text by remember { mutableStateOf("") }
                Spacer(
                    modifier = Modifier
                        .weight(1f)
                )
                Spacer(
                    modifier = Modifier
                        .padding(8.dp)
                )
                Text("Enter a query")
                TextField(
                    value = text,
                    onValueChange = { newText -> text = newText },
                    label = { Text("Enter text") },
                    modifier = Modifier
                        .fillMaxWidth()
                )
                Spacer(
                    modifier = Modifier
                        .padding(4.dp)
                )
                Button(
                    onClick = { viewModel.sendQuery(text) },
                    enabled = !state.responding,
                    modifier = Modifier
                        .fillMaxWidth()
                ) {
                    Text("Send")
                }
            }
        }
        is MainState.LoadingModel -> {
            Column(
                verticalArrangement = Arrangement.Center,
                horizontalAlignment = Alignment.CenterHorizontally,
                modifier = Modifier
                    .padding(8.dp)
                    .fillMaxSize()
            ) {
                Text("Loading!")
                CircularProgressIndicator()
            }
        }
    }
}
Conclusion
That’s it! You have the Gemma 3 1B model downloaded on your device. You can now run a local offline, private LLM in your app!
All code is available on GitHub: https://github.com/blundell/Gemma3MinimalStarter remember to look at the last commit if you want to see the diff that matches this blog: https://github.com/blundell/Gemma3MinimalStarter/commit/c6f07262309e8d9cc7bfa5635b4967823b9d3ca7
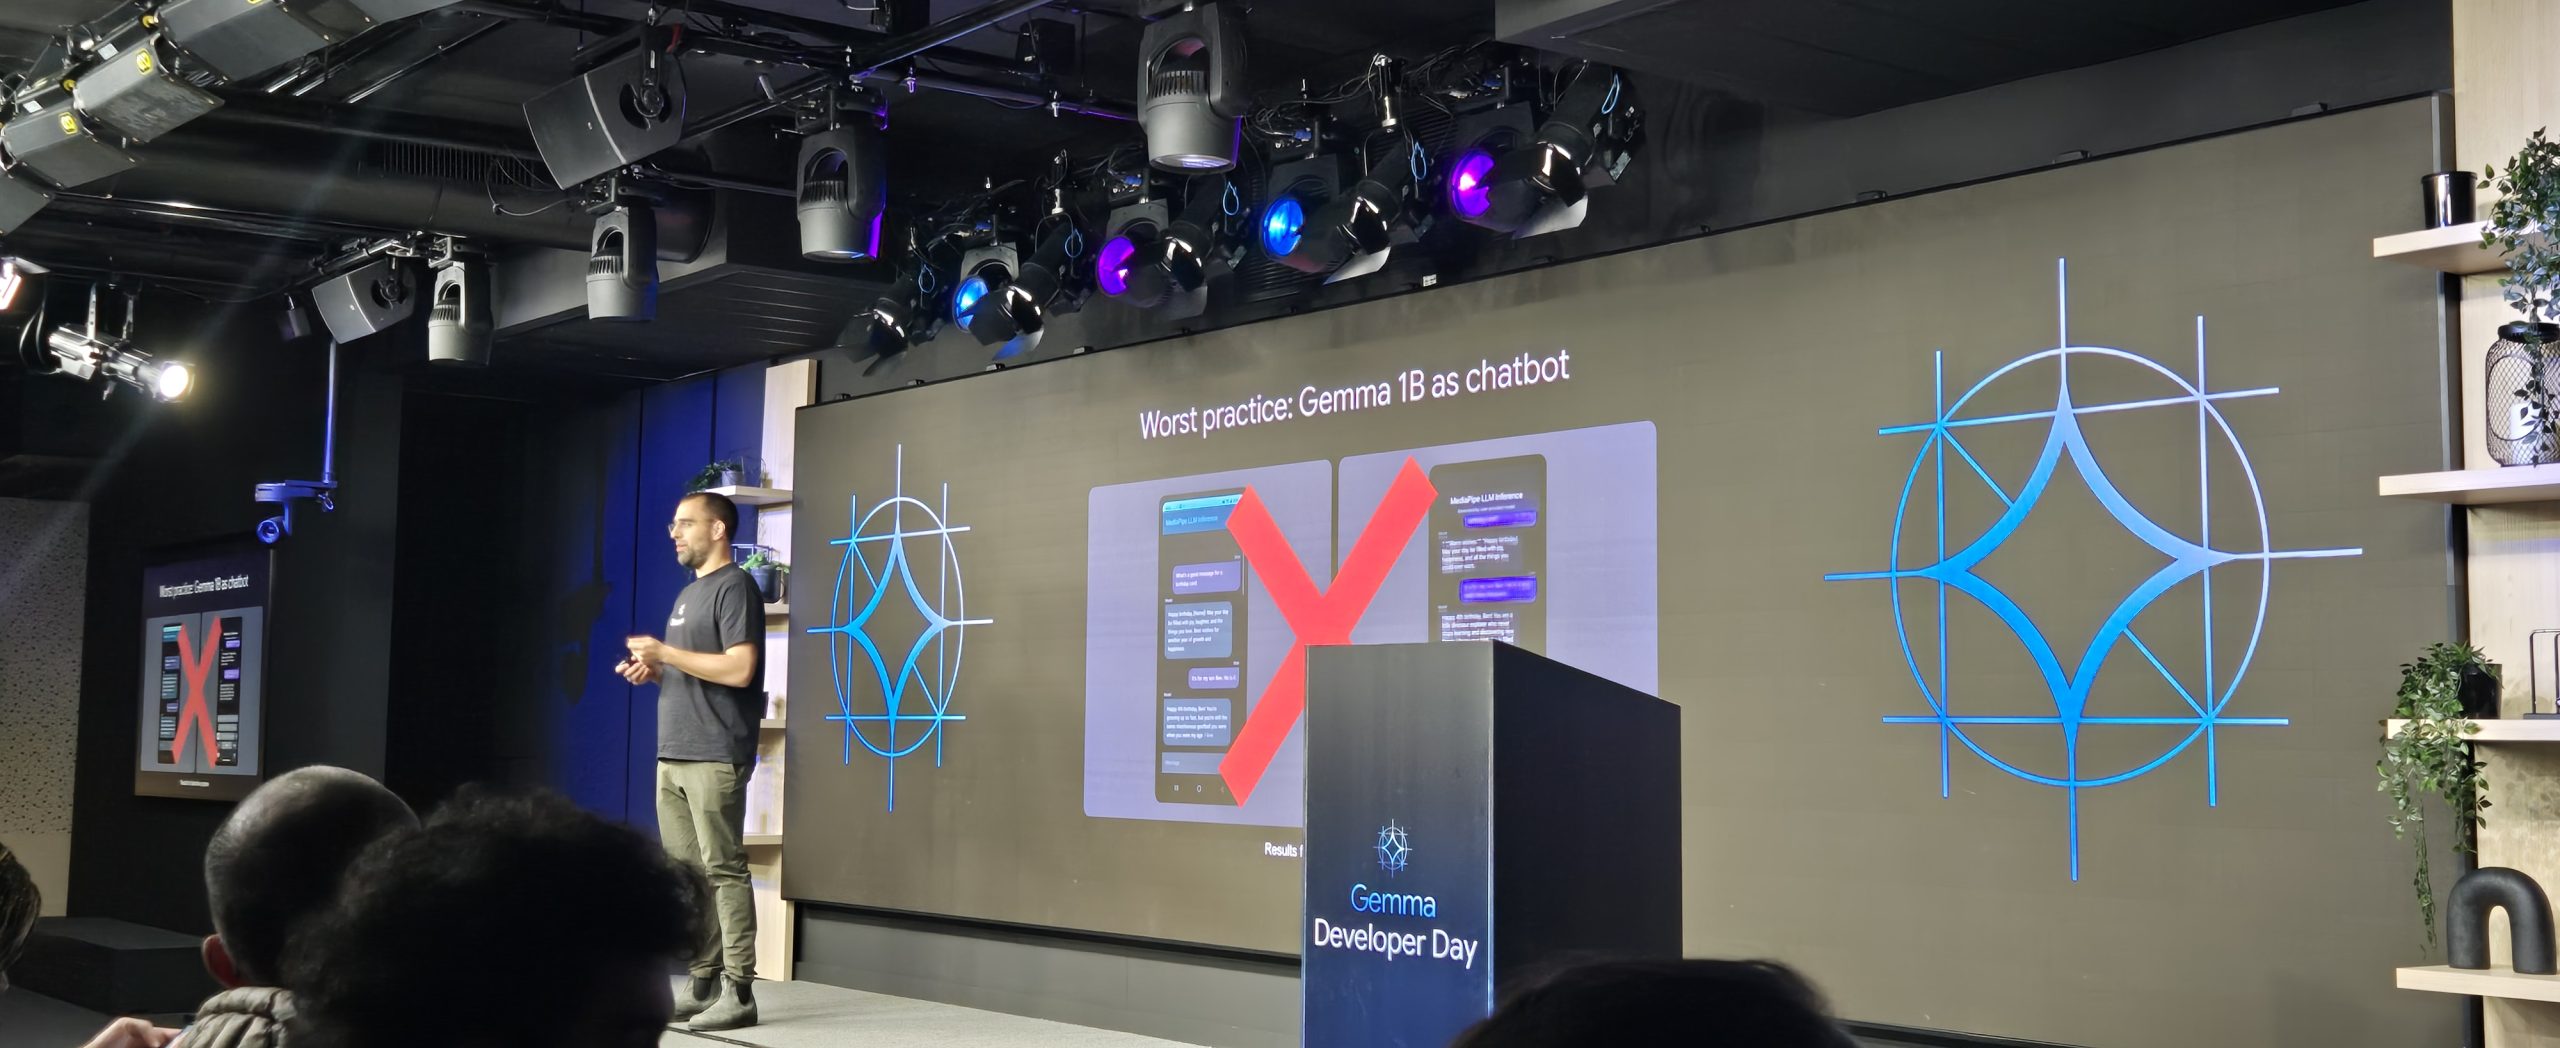
Once last thing I should say! This tutorial shows you how to load and interact with Gemma 3 as an LLM .. chat bot kinda. Just because it’s demonstrated as a chatbot doesn’t mean you should make a chat bot, use the model for: text classification, information extraction, limited question answering, summarization and whatever you can think of!.. that isn’t a chat bot 🙂 enjoy!