
When introducing 3rd party libraries (like BugSee), often their configuration is dumped into your build.gradle/application:onCreate and mixed with everything else. This post shows you how to have cleaner, more maintainable code by creating your own gradle plugin.
BugSee is a Flight recorder for your iOS and Android apps
“See video, network and logs that led to bugs and crashes in live apps. No need to reproduce intermittent bugs. With Bugsee, all the crucial data is always there.” (https://bugsee.com/)
P.S Don’t *ignore* the docs, just improve your code past them 🙂
This isn’t an advert for BugSee, but BugSee is a great tool for getting feedback from your app out in the wild. BugSee comes as an Android library SDK as well as an optional Gradle plugin that you can depend on. To setup BugSee you have to:
- Add the BugSee code dependency
- Initialise the library
- Give the library your BugSee app token
- Customise any BugSee settings you want to change
- Add the BugSee Gradle plugin
- Give the plugin your BugSee app token
BugSee or not, these are typical steps when applying any type of custom monitoring library. Let’s see how we can do these steps in a modular way that allows us to keep a nice separation of concerns. (And therefore, even though BugSee is the example, you can apply these same steps elsewhere.)
I have already talked about creating a wrapper for 3rd party Gradle plugin’s by making a Gradle composite build. So if you want to go over the groundwork for that again, check out this post here. (Applying a 3rd Party Gradle Plugin as a Composite Plugin).
#1 Add the BugSee dependency
Step 1 is applying the bugsee dependency. Now instead of (as written in the official docs) adding the bugsee dependency to your /app/build.gradle. We are going to create a composite plugin that applies the BugSee dependency and then apply the composite plugin to our /app/build.gradle.
Composite Build Recap (expanded here)
A composite build is simply a build that includes other builds. In many ways a composite build is similar to a Gradle multi-project build, except that instead of including single
projects, completebuildsare included.
Create another folder in the top level of your repository called build-logic. Add a build.gradle and a settings.gradle. Inside this folder create a sub-folder called bugsee-plugin. Add a build.gradle here as well. And then to connect your current project to this new project in your root settings.gradle add the line: includeBuild("build-logic") under pluginManagement (like this).
This gives you a composite build. i.e. two Gradle projects which are linked. If you build your original project it will now also build this new project.
Inside of your bugsee-plugin/src/main/kotlin add a new file BugSeePlugin under whatever package you desire (like this). This class extends Plugin<Project> and overrides the fun apply(target: Project) method.
FInally add
// https://github.com/gradle/gradle/issues/15383
implementation(files(libs.javaClass.superclass.protectionDomain.codeSource.location))
to your build-logic/bugsee-plugin project’s build.gradle, under dependencies. This gives your new project access to your original projects TOML dependencies file.
Add the BugSee dependency via your plugin
Now in BugSeePlugin you have access to the Gradle build lifecycle and you have access to your own TOML dependencies.
Since this plugin is going to be applied to your app module’s build.gradle. You will gain access to the main projects Gradle lifecyle. Meaning you can add the BugSee dependency here in the plugin, and the plugin will be applied to the app (therefore BugSee is applied to your app).
libs.versions.toml file:

bugsee = { module = "com.bugsee:bugsee-android", version.ref = "5.6.1" }

BugSeePlugin.kt file:

import org.gradle.accessors.dm.LibrariesForLibs

val libs = project.extensions.getByType(LibrariesForLibs::class.java)
with(project.dependencies) {
    add("debugImplementation", libs.bugsee)
}
For the simplicity of this tutorial we will add BugSee to the debugImplementation build type, but you can imagine using whatever flavor combinations make sense for your project.
Now add this new plugin as a dependency in your app/build.gradle.kts > plugins block.
plugins {
    // AGP app plugin etc added here
    alias(libs.plugins.android.application)
    ...
    id("com.blundell.bugsee.plugin")
}
#2 Initialise the library
Now you have the BugSee dependency applied to your app module (via our build-logic/bugsee-plugin). You can start to configure BugSee, this is with the launch method. The offical docs say to call launch in your Application.onCreate method. We don’t want to do that! We’ll be using the AndroidX Startup-Runtime Lib. This is declared in the TOML file of the example project and applied with libs.androidx.startup.
The App Startup library provides a straightforward, performant way to initialize components at application startup. Both library developers and app developers can use App Startup to streamline startup sequences and explicitly set the order of initialization.
Using AppStartup we create a class that exends androidx.startup.Initializer and we register this class in our AndroidManifest.xml for execution on app startup.
This class has the single responsibility of configuring BugSee. We set a few BugSee specific options and then call BugSee.launch:
class BugseeInitializer : Initializer<Unit> {

    /**
     * options https://docs.bugsee.com/sdk/android/configuration/
     */
    override fun create(context: Context) {
        val options = HashMap<String, Any>()
        options[Bugsee.Option.CaptureLogs] = true
        options[Bugsee.Option.LogLevel] = BugseeLogLevel.Verbose
        options[Bugsee.Option.ScreenshotEnabled] = true
        Bugsee.launch(context.applicationContext as Application, BuildConfig.BUGSEE_APP_TOKEN, options)
    }

    override fun dependencies(): List<Class<out Initializer<*>>> = emptyList()
}
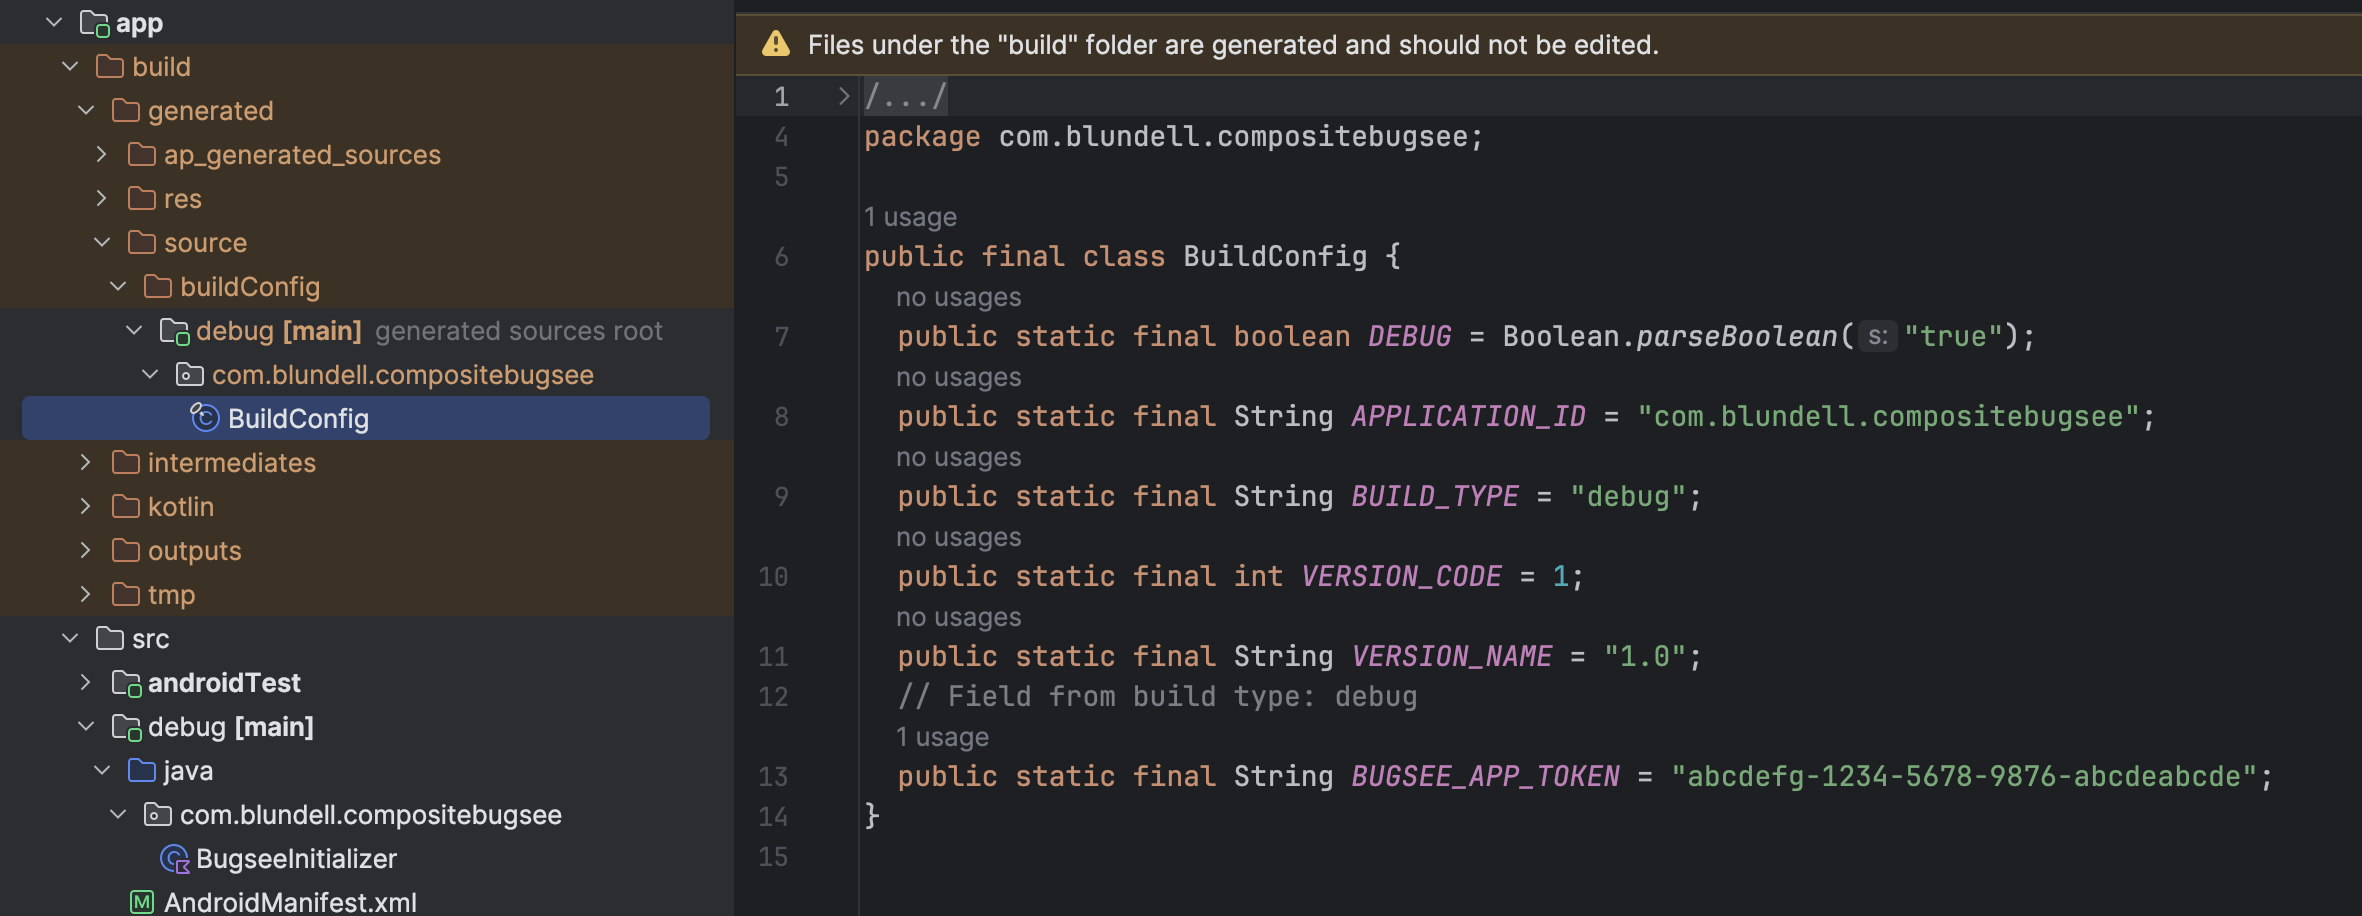
If your inquisitive eye has noticed the BuildConfig.BUGSEE_APP_TOKEN that will be explained in the next section (#3).
This initializer is declared in your AndroidManifest:
<application>

    <provider
        android:name="androidx.startup.InitializationProvider"
        android:authorities="com.blundell.compositebugsee.androidx-startup"
        android:exported="false"
        tools:node="merge"
        >

        <meta-data
            android:name="com.blundell.compositebugsee.BugseeInitializer"
            android:value="androidx.startup"
            />

    </provider>
</application>
But notice, that this is the only thing in the application tag of the manifest! This is because you can declare an AndroidManifest.xml per sourceset. And here we create the Initializer and the Manifest in the debug sourceset. We only want to enable BugSee for debug builds and so doing it this way means this code will not be in our released apk. This debug manifest will be merged into the main manifest as part of the debug build, and it will be ignored when the release build executes.

#3 Give the library your BugSee app token
BugSee initialization requires an app token to register your app. Typically people will hardcode these in the code, or if wanting to hide them a little more, move them to build.gradle.kts and maybe even inject them as part of the build process. Doing this in your main build.gradle.kts starts to fill the file up with a lot of unrelated build “stuff”. There is a better way!
Inside of our already declared plugin (BugSeePlugin.kt). We can get a handle to the BuildConfig and add properties (explained in detail in the AGP pages here). This lets us keep the BugSee configuration in one place (and still allows build injection of the key, if that’s what you want to do, not covered in this tutorial).
val androidComponents = project.extensions.getByName("androidComponents") as ApplicationAndroidComponentsExtension
androidComponents.finalizeDsl { ac ->
    ac.buildFeatures.buildConfig = true
    ac.buildTypes
        .filter { it.name.contains("debug") }
        .forEach { it.buildConfigField("String", "BUGSEE_APP_TOKEN", "123456789") }
}
This means that when our plugin is applied, the BUGSEE_APP_TOKEN is added to the debug build type BuildConfig file, which can then be used in the initiaizier.
#4 Customise any BugSee settings you want to change
We did this in #2 , tick!
You have added BugSee configuration settings to the created Initializer. When doing these steps for other libraries, take this opportunity to apply any configuration you are planning.
#5 Add the BugSee Gradle plugin
The BugSee gradle plugin is separate to the BugSee SDK Kotlin dependency. Don’t get them mixed up. We already added the SDK dependency. Now (as an optional extra) we can apply the BugSee gradle plugin to our own plugin – which will also apply it to our app.
When ProGuard/R8 is used, crash reports are likely to have obfuscated parts in them. In order to process them a matching mapping.txt has to be uploaded to Bugsee servers. Bugsee provides a special mechanism to upload mapping files automatically at build time using a gradle plugin.
Again in our already declared plugin (BugSeePlugin.kt), we can apply other plugins. The below code applies the bugsee plugin by name: plugins.apply("com.bugsee.android.gradle").
This declaration by name works because we have added the BugSee plugin as a code dependency to our plugin:
libs.versions.toml file:

bugsee-bugseeAndroidGradleplugin = { module = "com.bugsee:bugsee-android-gradle-plugin", version.ref = "bugseePlugin" }

build-logic/bugsee-plugin/build.gradle.kts file:

implementation(libs.bugsee.bugseeAndroidGradleplugin)
Once you apply the plugin, you can lookup its extension. The extension is the closure/configuration you usual use in an apps build.gradle.kts.
With the extension we can call the BugSee specific method appToken() to apply the same BUGSEE_APP_TOKEN that we gave to the Kotlin SDK now to the Gradle Plugin.
plugins.apply("com.bugsee.android.gradle")
val bugsee = extensions.findByType(BugseePluginExtension::class.java)
    ?: throw IllegalStateException("""The "bugsee" plugin needs to be applied to your project first.""")
with(bugsee) {
    appToken(BUGSEE_APP_TOKEN)
}
The BugSee plugin is now applied to our plugin, and our plugin is applied to our app module. That’s all that’s needed to have BugSee upload your crash reports.
#6 Give the plugin your BugSee app token
Although we’ve already added the app token to the plugin in #5. I just wanted to point out, that this seems simple and obvious because we are following the single responsibility principle. Your bugsee-plugin you have created encapsulated the setup logic and thus makes the app token easily accessible to the BugSee plugin configuration and the BuildConfig file.
(And yes, I also get confused with the naming of your projects “bugsee-plugin” and the actual “bugsee plugin” that you are applying internally. You have to remember you are wrapping one with the other and hopefully then the difference doesn’t matter in general conversation – only in an explanation tutorial like this. 🙂 )
Conclusion
That’s it! You now have an android app that has the BugSee plugin applied and setup, all configuration is encapsulated in your own composite build plugin you created. BugSee will be applied to the debug build and ignored for the release build.
Thanks for listening.
All code is available on GitHub here.
Any questions, you can find me on:
BlueSky @Blundell_apps (or Threads, or X, ?)
Enjoy!