This blog is going to show you how to write your first Android Things application. We’ll discuss the hardware details you need to know to get started and then dive into the code of the android app.
Prerequisite, I assume you have a Raspberry Pi (or other AndroidThings compatible board) and you have flashed it (an SD Card in the Raspberry Pi’s case) with the latest version of AndroidThings.
If you haven’t done that yet, you can get step by step instructions here on the official Android Things website, (or if you can’t right now, you can still continue, just follow the optional instructions about required=false near the end of the post.
Let’s get started.
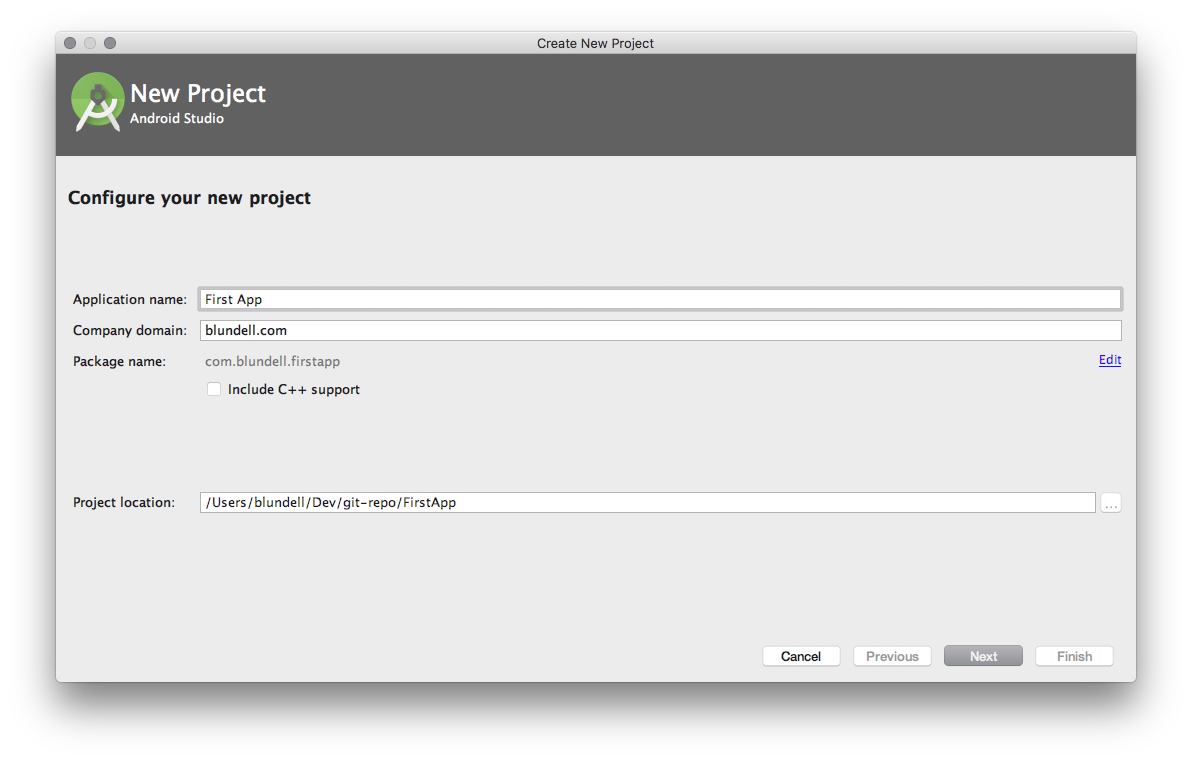
First we create a new app from the Android Studio new app wizard. Since this is our first app the application name is first app and the default domain will do.
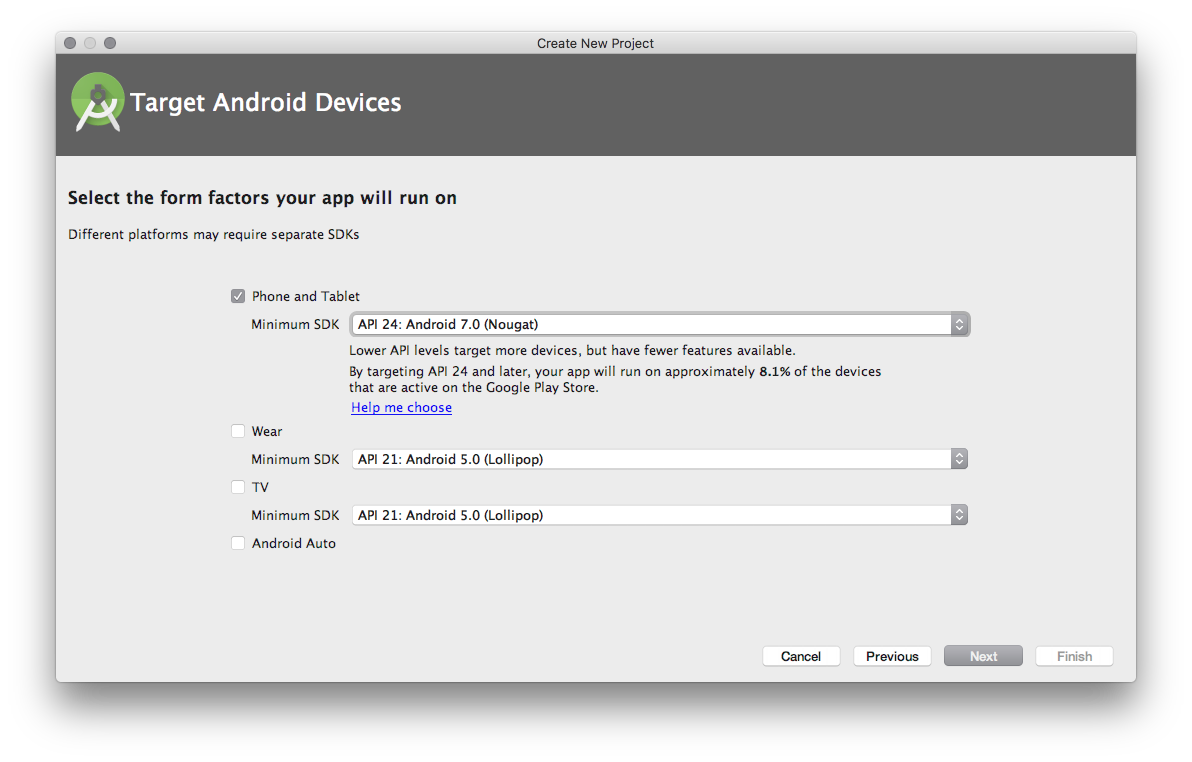
The minimum Android SDK level for AndroidThings is API 24: Android 7, as we all know you pronounce this “new garr”. Let’s select that. No other form factors are required.
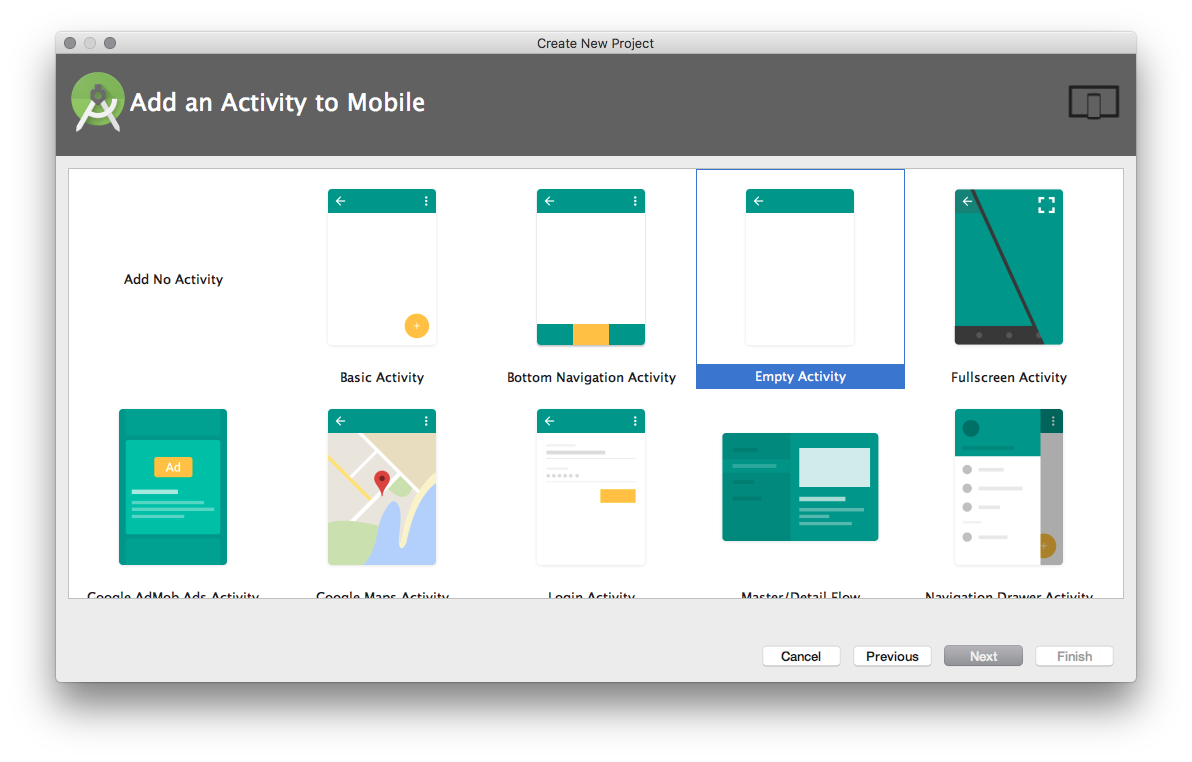
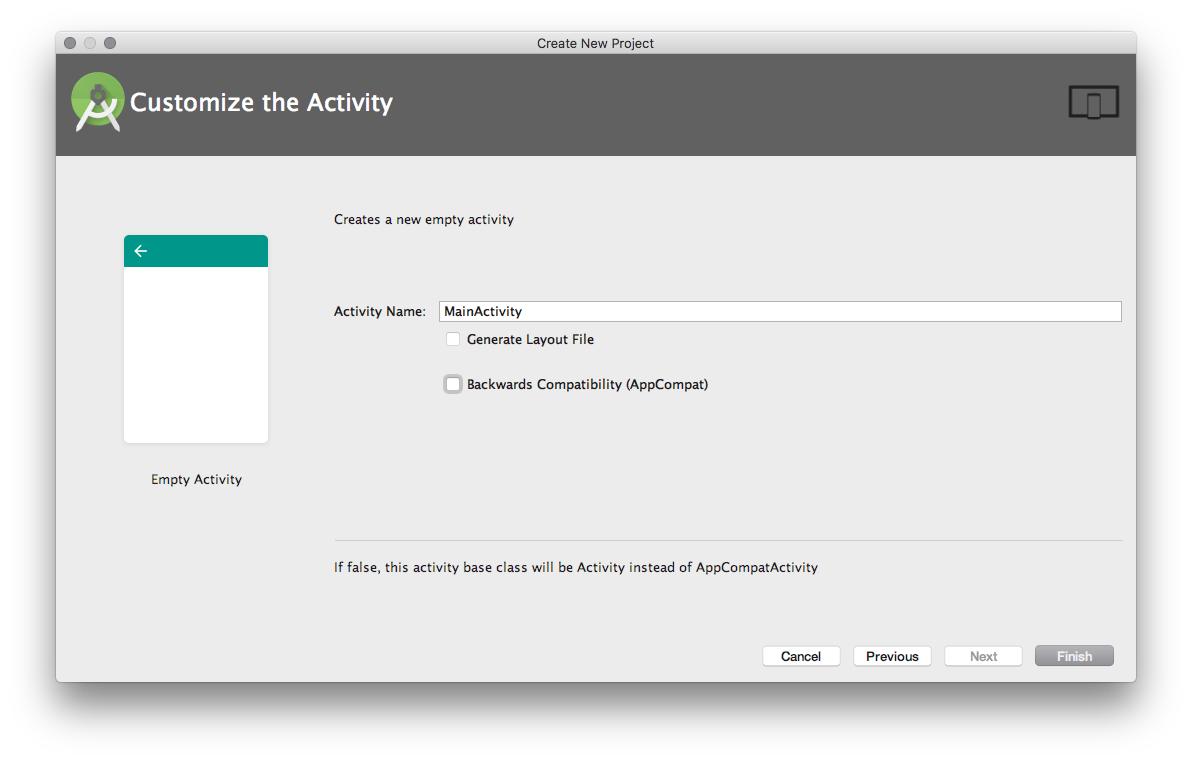
Select an empty activity to save us some time and untick ‘generate layout file’ as we won’t need this. AndroidThings are IoT devices and therefore a display is optional. For now, let’s not generate a layout file as we won’t use it. We do not need the AppCompat library, because we are on Android Things, not Android Mobile and we have a minimum SDK of 24, untick this option.
A basic AndroidThings application requires three things.
Add the AndroidThings support library to our dependencies. In your applications build.gradle add this code to the dependencies closure.
/app/build.gradle
dependencies {

    // other dependencies

    provided 'com.google.android.things:androidthings:0.5.0-devpreview'
    // I use 0.5.0 please use the latest version from https://partner.android.com/things/console/
}
Notice that we are adding it as a provided dependency, you may be used to using compile dependencies. Provided means that the support library dependency is not packaged inside of our APK. Instead provided means the support library implementation is to be provided by the AndroidThings device runtime environment. Meaning the Things support library is built into the Android Things image you flashed onto your device, not packaged inside our apk, whilst still allowing us to use the AndroidThings support library API at compile time. When coding our apps we won’t actually notice any difference.
Secondly we open the AndroidManifest and add the declaration that we are using the androidthings library in our application.
app/main/AndroidManifest.xml
<application ...>
    <uses-library android:name="com.google.android.things"/>
    ...
</application>
This specifies the AndroidThings shared library that the application must be linked against. This element tells the system to include the library’s code in the class loader for the package.
This element also means our application can be installed on AndroidThings devices and it would also mean if this app was uploaded to Google Play then it would be filtered out for installation on phones. If you wanted to avoid that filtering you could use the required attribute and set it to false.
<application ...>
    <uses-library android:name="com.google.android.things" required=”false”/>
    ...
</application>
There is a use case for this but we don’t need to worry about that right now. Not declaring the required attribute leaves it at the default value of true.
Finally to set up our application for AndroidThings we need to add the intent filter that will declare to the system what Activity we want starting when the AndroidThings device is turned on. This is done using the IOT LAUNCHER intent filter.
<activity android:name=".MainActivity">
      <intent-filter>
        <action android:name="android.intent.action.MAIN" />
        <category android:name="android.intent.category.LAUNCHER" />
      </intent-filter>

      <!-- This is the new filter for AT-->
      <intent-filter>
        <action android:name="android.intent.action.MAIN" />
        <category android:name="android.intent.category.IOT_LAUNCHER" />
        <category android:name="android.intent.category.DEFAULT" />
      </intent-filter>
    </activity>
Let’s add that to your Main Activity in the Android Manifest. Great now the app is ready. Let’s make it do something before we run it on a device. Open the Main Activity and let’s add a Log so that we can see our application running.
public class MainActivity extends Activity {

    @Override
    protected void onCreate(Bundle savedInstanceState) {
        super.onCreate(savedInstanceState);
        Log.d("TUT", "Hello AndroidThings World");
    }
}
That’s it!
We’re all set to run on an AndroidThings device. Make sure your AndroidThings device is connected to your computer through ADB. Now hit CMD+R or your favourite way to deploy and watch it run a blank Activity but check your logcat.
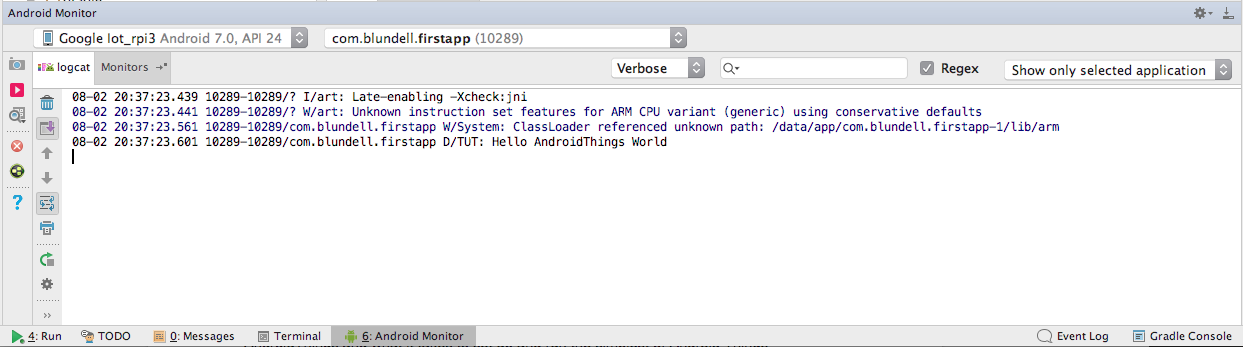
We’re all done. You’ve learnt the basics of the Raspberry Pi hardware components for AndroidThings and what it takes to set up and run the simplest of Android Things applications. Now you’re ready to develop for the Internet of Things with Android!
The source is on GitHub and all the code is available here.
If you are more of an audible learning, or prefer video content. You can check out my Android Things introductory video course on Caster.io.